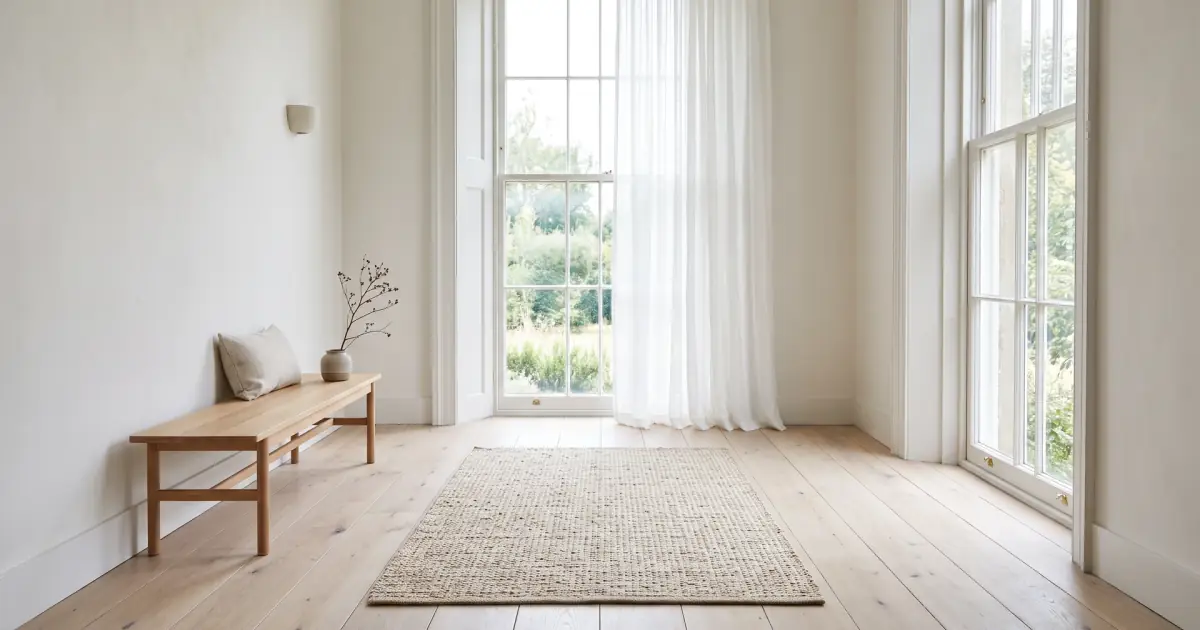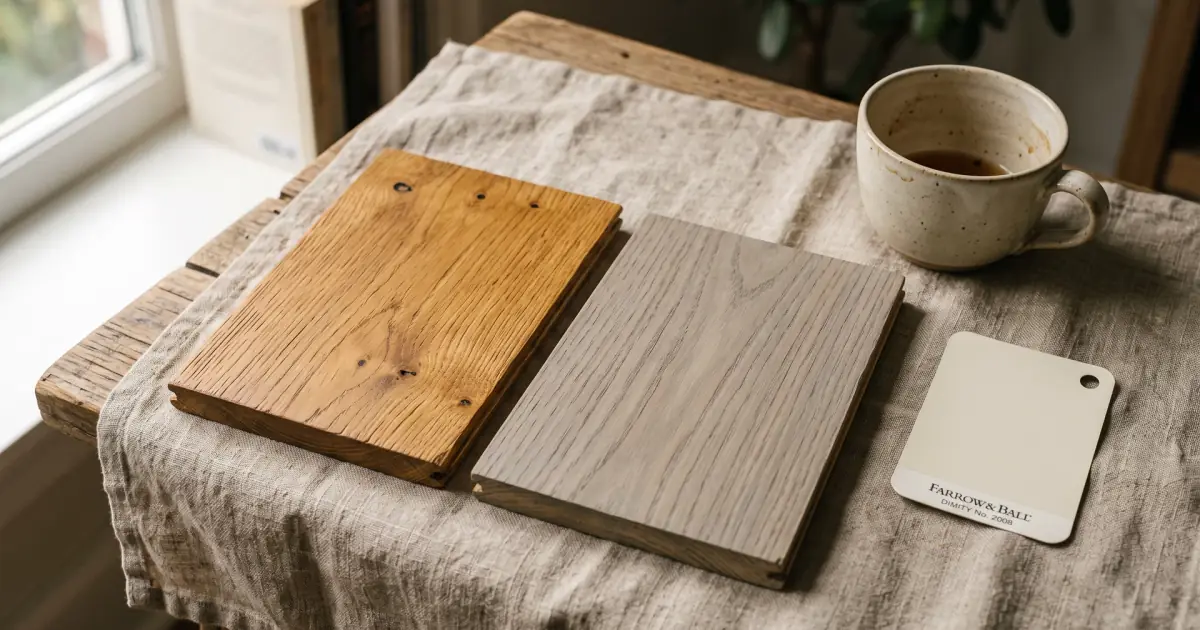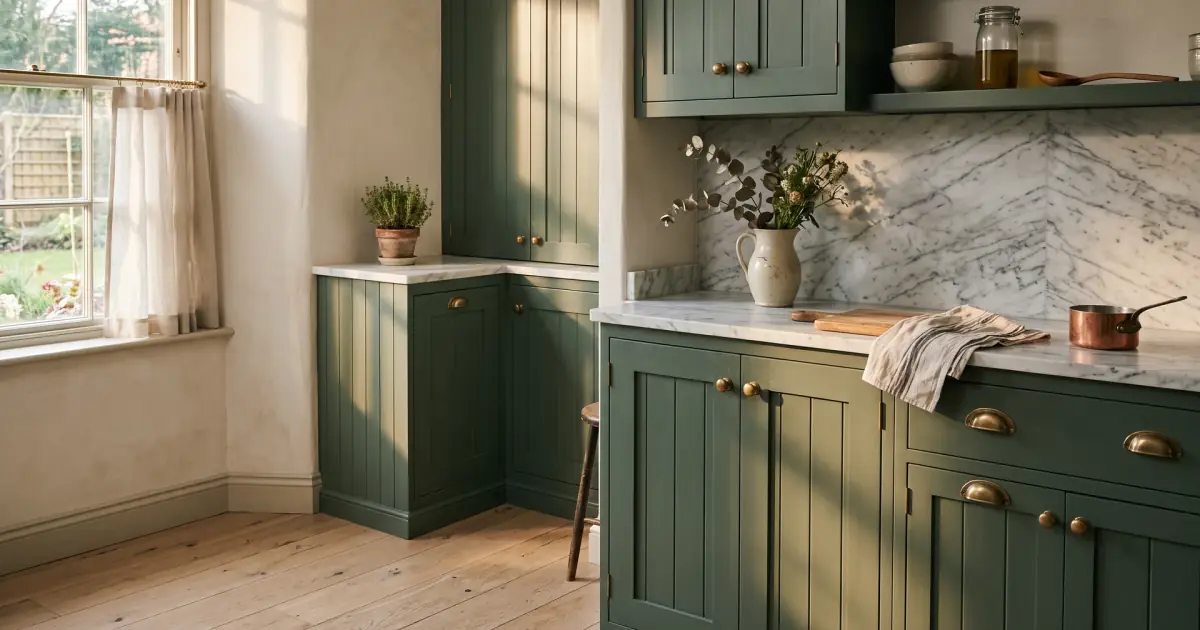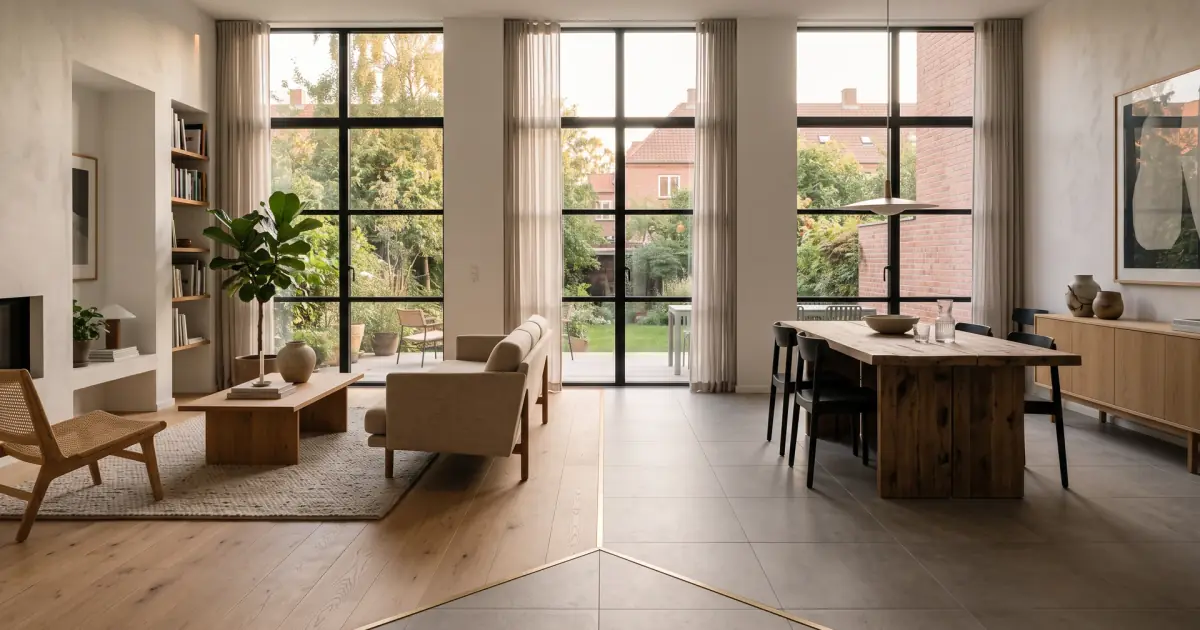
The open plan was supposed to remove walls, and it did. What it left behind is a seam: where a kitchen floor meets a living-room floor with no wall to hide behind, the join becomes a piece of design, planned or not. The difference between a change that looks deliberate and one that looks unfinished is rarely the material. It is placement, height and line.
Decide first: one floor or two
The first decision costs the most and should be settled before anything is ordered. Continue one floor when the plan is small, the rooms share the same light, or the change would land mid-route. One material through 700 square feet of kitchen, dining and sitting room makes all three feel larger.
Switch when the use differs. A kitchen deals with water and grease, an entry with grit and wet boots. Solid oak in front of a sink is a maintenance argument waiting to happen, and porcelain through a sitting room is a cold one. Switch also when the rooms want different characters, provided the seam looks like a choice.
The middle path is the least discussed: one material, two formats. A seven-inch oak through the living space and the same oak in herringbone in the hall gives continuity and change, with no height to reconcile.
Zoning a long room without walls
A 24-by-14-foot room with a window at each end has no obvious center. Flooring can supply one, but only if the change lands where the furniture already divides the space. Draw the seam at the edge of the rug, at the end of the kitchen run, or in line with a beam overhead. A seam 18 inches past the sofa reads as a measuring error; one that lines up with its back reads as a wall that isn’t there.
Rugs do the same job for less. A 9-by-12 rug zones a sitting area with no change of floor at all, and it moves when the furniture moves. If the floor itself must divide the room, treat the seam as a wall: it should start and stop at something.
Four ways to make the change
Each of these four details has a height range where it works, and using one outside that range is where transitions start to look improvised.
Flush transition strip
A wood T-strip, 2 to 3 inches wide, sits in a shallow groove cut into both floors and finishes level with them. It is the quietest option, and the right one when the surfaces meet within about 1/8 inch. Match it to the darker floor and it disappears; match it to the lighter and it reads as a drawn line.
Thin metal profile
An aluminum or brass profile 1/8 inch thick does the same job with less visual weight and suits a modern plan best. Flush profiles need a groove; overlap profiles sit on the joint and are the practical choice for a retrofit. Brass ages into a warm line, aluminum nearly vanishes against pale tile.
Tile-to-wood border
Where tile meets wood and you want the join to be architecture rather than hardware, run a border: a soldier course, one row set perpendicular to the field and 3 to 4 inches deep, or a wood strip of the same width. It costs an extra day and makes the change look planned.
Level change with a step
A step of 4 to 7 inches reads as a change of place; anything between 1 and 3 inches reads as a trip. Where the difference is small but real, build up one side rather than compromising both. Where it is a genuine step, give it a nosing that overhangs by an inch, a tread of at least 10 inches, and a marked edge.
| Situation | Detail | What it looks like |
|---|---|---|
| Same level, gap under 1/8 inch | Thin metal profile | A drawn rule, almost invisible |
| Same level, gap of 1/8 to 1/2 inch | Flush wood T-strip | A quiet line in the darker tone |
| Level, with room for a detail | Tile border or soldier course | A band that belongs to the room |
| Difference of 1 to 3 inches | Rebuild one floor’s build-up | Fixes a trip before it happens |
| Difference of 4 inches or more | Step with a nosing | A change of place |
Where the seam belongs
Put it under a door whenever there is one. A seam centered under the closed leaf is invisible from both rooms; a seam in the middle of the opening is the first thing anyone sees. Without a door, use a cased opening, a change of level, or the line where the kitchen cabinets end.
Keep it out of the traffic path. A seam running diagonally across the route from sofa to kitchen gets stepped on fifty times a day, and every step works at the strip. Keep it 3 feet from a wall so it does not read as a border, and clear of where dining chairs are pushed back. Check it against the furniture plan too: a seam under a rug is wasted, and one under a table catches chair legs.
When directions collide
Two floors running at right angles meet in a T, and the eye reads a joint. Two floors running at 45 degrees meet in an arrow, and the eye reads a mistake. Keep the fields parallel, or turn one to face the seam squarely.
Set the tile so its long edge runs parallel to the seam and let the wood cross at 90 degrees, or the reverse; what you are avoiding is the diagonal. If the architecture forces a turn — a bay, an L-shaped plan — put the seam on a column line or a wall stub.
Matching heights across materials
Finished height, not nominal thickness, is what has to line up. Solid oak at 3/4 inch, engineered oak at 1/2 inch, porcelain at 3/8 inch over 1/8 inch of thinset and a 1/4-inch backer: that last stack lands at 3/4 inch, which is why tile and solid wood often meet flush and engineered wood often does not.
Measure both sides with a straightedge once the substrate is down, not from the spec sheet. A 3/16-inch difference takes a reducer, half an inch takes a T-strip, and more than that wants a corrected build-up, because no strip looks intentional at 3/4 inch.
Sound and warmth at the seam
Tile is hard and wood has give, and the seam is where the room changes its acoustic character. A porcelain kitchen reflects everything; three steps onto oak and the sound softens. That shift in sound is worth protecting.
Cork or an acoustic mat under engineered wood takes the hollow note out of a floating floor, and tile on a decoupling membrane is quieter than tile bonded to a slab. Where the seam crosses a main route, a runner of 2 to 3 feet on the tile side does more for warmth than any strip.
Kitchen tile into living-room oak
Take an 11-by-14-foot kitchen in 12-by-24 porcelain meeting a 16-by-20 living room in 6-inch white oak. The cased opening is 8 feet wide, the cabinets stop 2 feet inside it, and the oak runs toward the far window.
The seam goes on the cabinet line, not the opening line, so the tile stops where the work stops and the oak begins where the sitting begins. Set the tile’s long edge parallel to that seam and let the oak cross at 90 degrees; the fields then read as a T rather than a collision.
Porcelain at 3/8 inch over 1/8 inch of thinset and a 1/4-inch backer finishes at 3/4 inch, level with the oak, so a flush wood T-strip in the oak’s tone covers the joint. Leave a 1/4-inch expansion gap on both sides and let the strip hide it. Run the oak three boards past the opening before the first end joint, and keep the grout at 1/8 inch in a color two shades off the tile.
If the cabinets are pale against that warm oak, let the contrast stand; forcing a match is the mistake we argue against in floors and cabinets that should not match.
At the exterior door
An exterior door is a threshold, not a transition, and it has different jobs: shed water, seal air, clear the door’s sweep. Most exterior doors sit 1/2 to 3/4 inch above the finished floor, which leaves room for a threshold of 1/4 to 1/2 inch and no more. Too tall and the door drags; too low and water comes in.
In a wet climate, stop the wood 3 feet short and set a stone landing. In a dry one, a hardwood threshold matched to the floor is fine if it slopes outward a degree or two. Either way, put a washable mat inside and keep it clear of the door swing.
The short version
Continue one floor when the plan is small or the change would land underfoot; switch when water, grit or a real difference of character asks you to. Put the seam under a door, on a cabinet line, or against a column, never mid-opening or mid-route. Choose the detail by height: metal profile at 1/8 inch, wood T-strip at half an inch, a step near 4 inches. Keep the two directions parallel or squarely crossed, and let the tile be cold and the oak warm — that change of sound is the point.
Three things to take away
Choose one floor or two deliberately; an accidental change is what looks unfinished.
Put the seam where furniture or a doorway can explain it.
Match heights and keep the transition strip as thin as the materials allow.
Written by
More about the desk