
Room studies
Room by room, starting at the floor
Six rooms, six different answers. A kitchen floor has to survive water; a bedroom floor has to survive bare feet at six in the morning. The studies below work through the floor first, then the palette, then the one practical detail that decides the room.
The plan
Six rooms, six different answers. Hover or tab through the plan to see what each room asks of its floor, then open the room study.
The studies
Six rooms in detail
Each study includes a swappable floor, the palette we used, and the trade-offs we would make again.
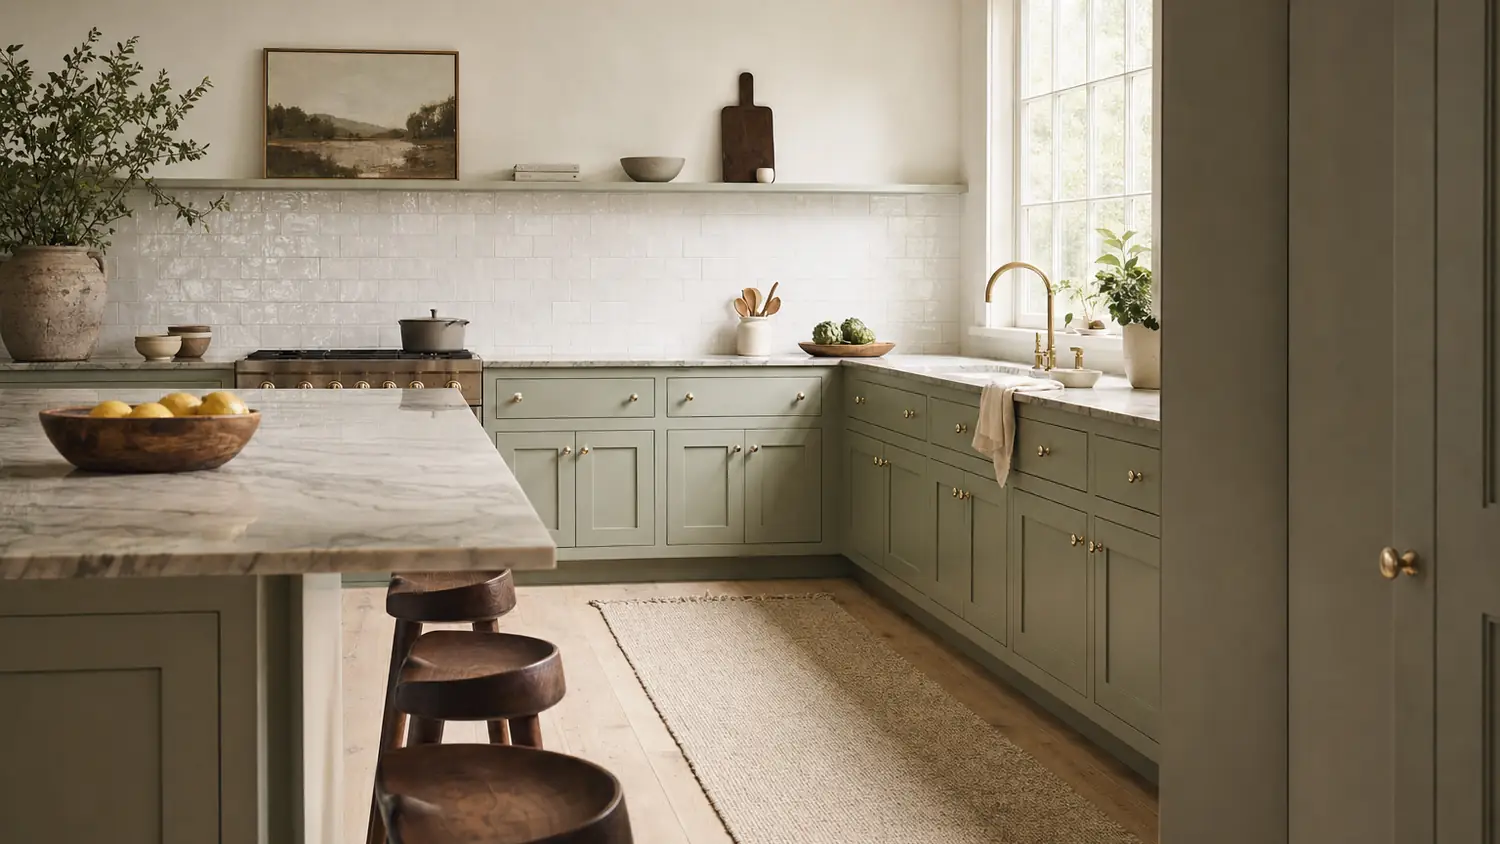
The kitchen is the one room where the floor is a tool as much as a surface. Choose it for the work, then make it beautiful.
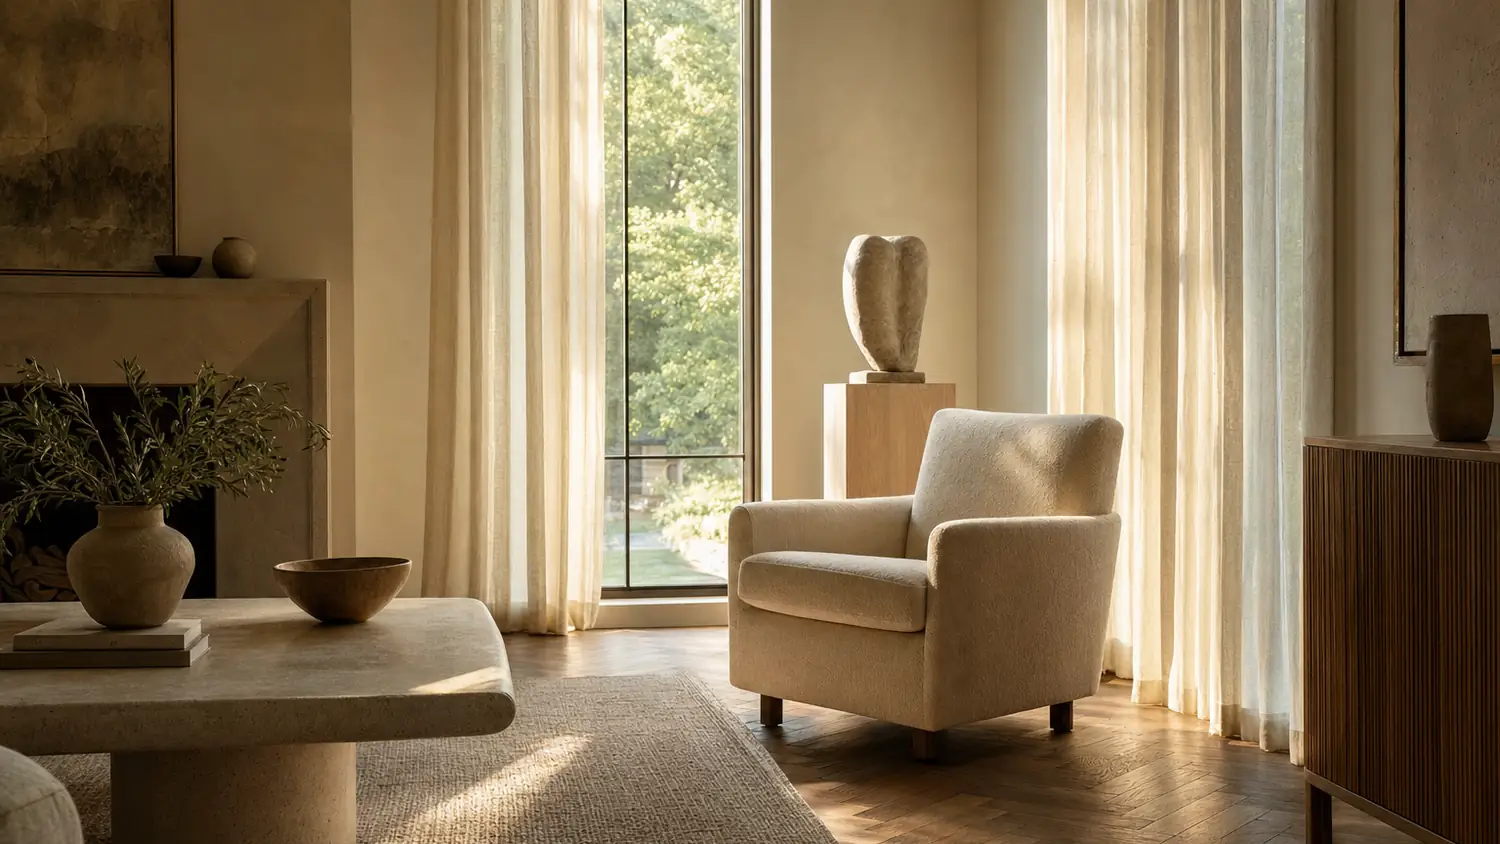
The living room floor is the one you actually see: under the sofa, around the rug, in the low winter light. It should be the calmest decision in the room.
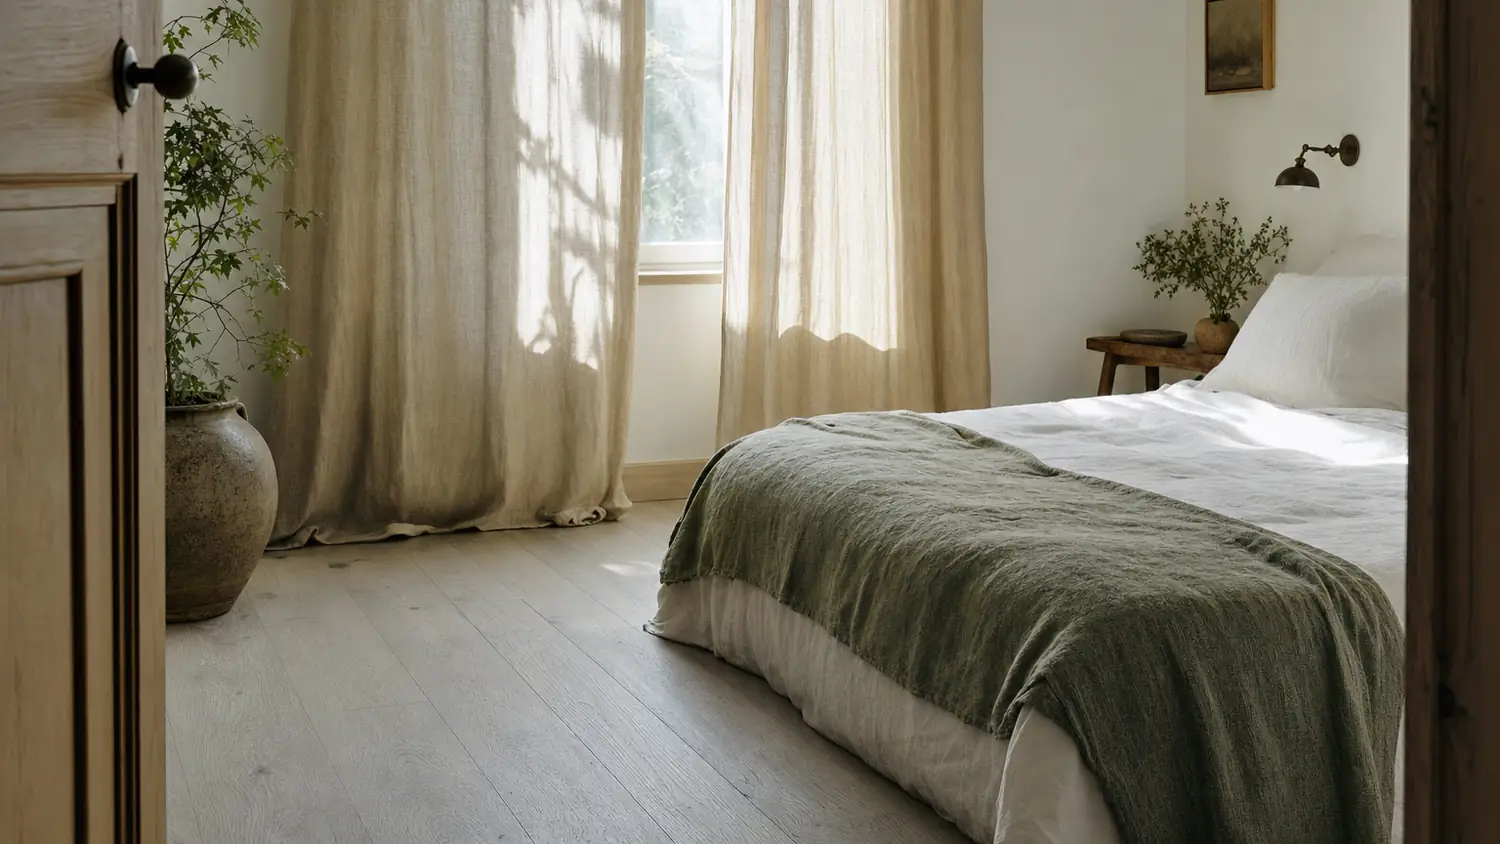
The bedroom floor is met barefoot, in the dark, before the day starts. Warmth and quiet matter more here than in any other room.
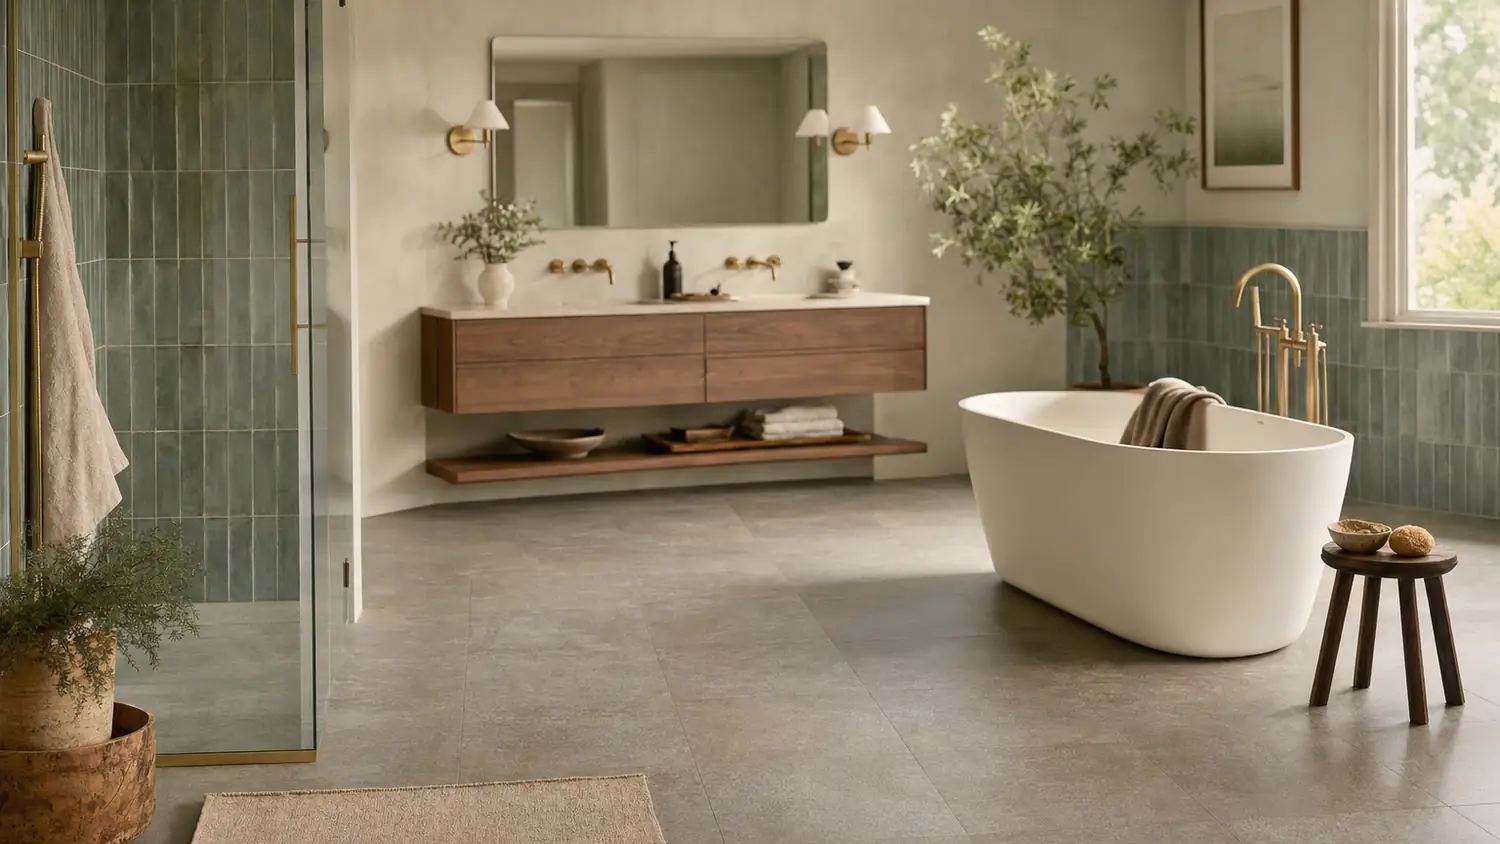
Water decides most of the bathroom floor. The remaining decisions are warmth, grip and how the grout lines make the room feel.
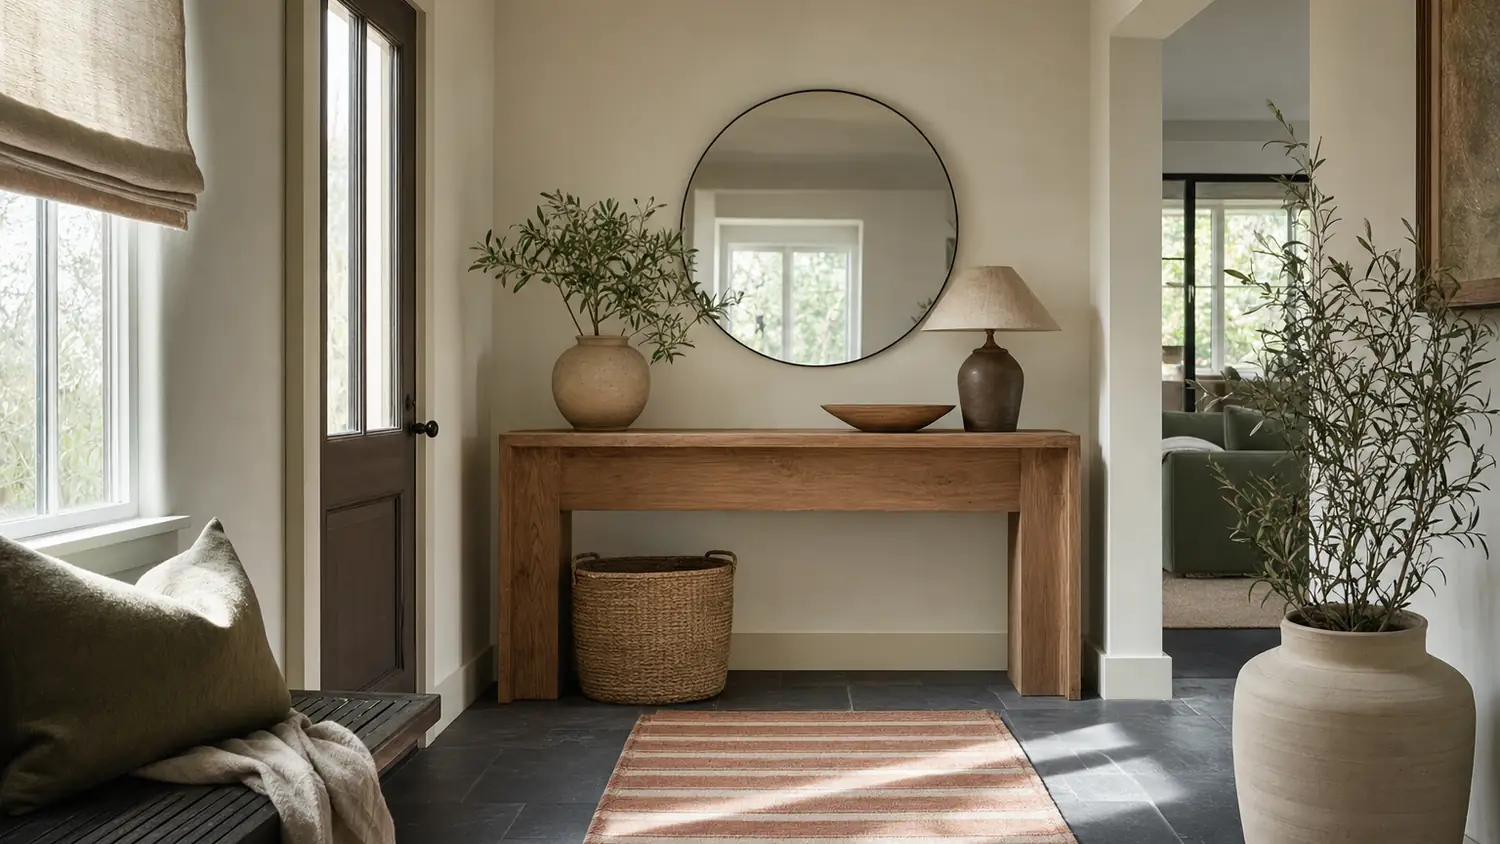
Every visitor meets the entryway floor before they meet you. It is also the floor that takes the most grit, so choose for weather and then soften it.
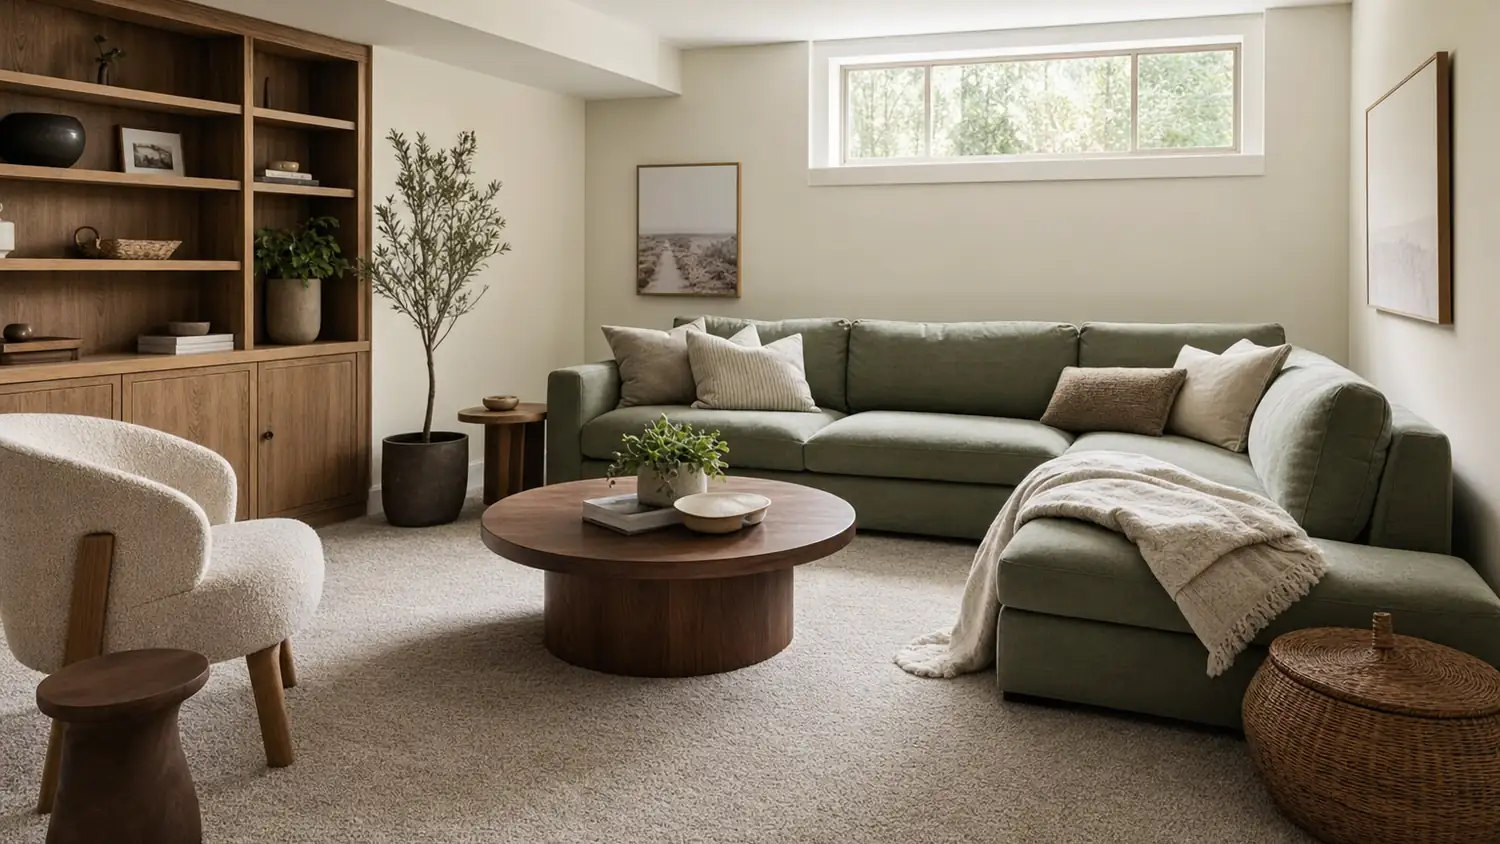
A basement floor is a moisture decision before it is a design decision. Get the slab right, then choose the warmest surface that can live there.
How to use a room study
Read it in this order
Start with the constraint, not the photograph. Every room has one thing that cannot be argued with: water in a kitchen, a concrete slab in a basement, a front door that opens directly into the living room. Find that sentence in the study and let it eliminate options before you fall in love with a sample.
Then look at the floor tone. Each study names the tone it uses and shows the palette beside it, so you can see whether the room's warmth comes from the wood or from the walls. If your existing floor is a different tone, the palette is the part to borrow and the floor is the part to translate.
Finally, use the floor swap. It is deliberately plain: four floors, one room, no styling to distract you. Change the floor and watch whether the room becomes warmer, cooler or busier. That reaction is the most useful information on the page.
If you are still choosing, the color bench takes the floor tone and shows which walls and trims will flatter it. If the floor is fixed and the cabinets are the question, the piece on floors and cabinets is the place to start.